The Big Question: Is Sod Installation a DIY Project?

If your front lawn is looking patchy or you find yourself with a backyard overrun with weeds, installing new sod can be the quickest way to achieve a beautiful and lush lawn. Homeowners who are up for a DIY project will find that sod installation is reasonably easy to do on your own. By following a few simple steps, you can be enjoying your new lawn by the time summer rolls around.
Conduct a soil test
Before installing sod, make sure that your soil has the correct pH (approximately 6 to 7.5) level to allow grass to thrive by testing soil samples.
Measure how much sod you need
Carefully measure the area where you’ll be installing sod; plan to order about 5 percent more as a safeguard. A sod farm can help you figure out exactly how much you need.
Prepare the soil
Maximize the chances of a successful sod installation by getting the soil ready first. Work organic matter into your soil, rake it level and water it thoroughly about a day before installation.
Lay the sod
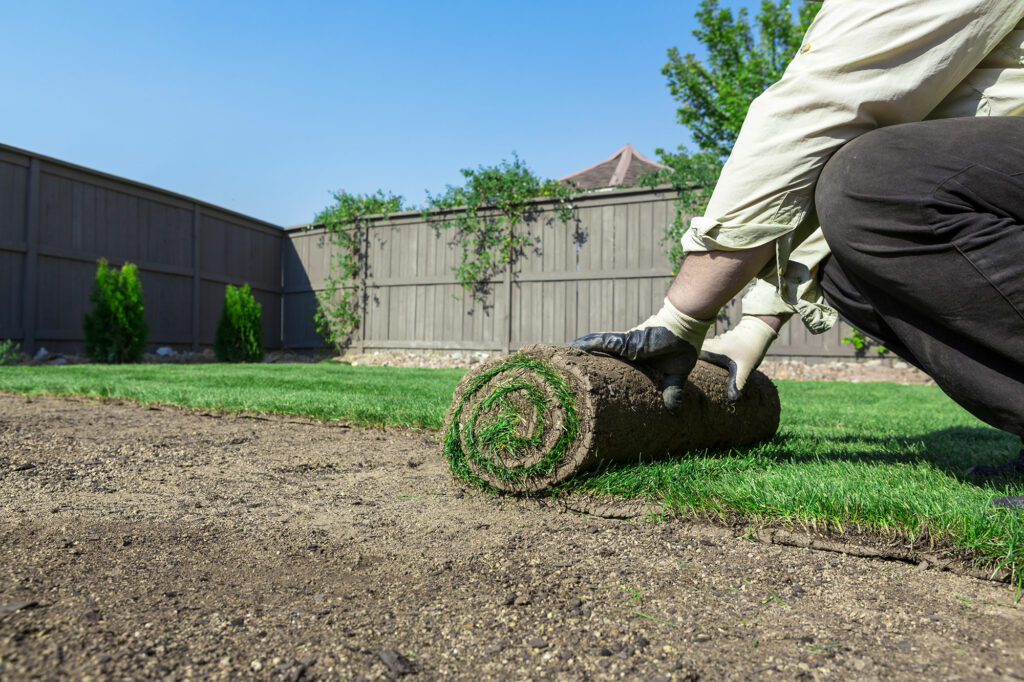
Once the soil is ready, begin unrolling the turf using a straight edge such as a fence as a guide. Lay one piece at a time, and stay off the sod while you lay it. Make sure to pat the sod into place gently to remove any air pockets. Position the sod in staggered rows with tight seams between the edges. Once all the sod is laid, fill in the seams with topsoil and push the sod into the soil with a lawn roller. Limit foot traffic on your lawn for a few weeks until the roots have had a chance to full take.
Have you run into problems with your sod installation project? The sod and grass experts at Modern Turf can help. Contact us today!


